Showing posts with label watercolor. Show all posts

Wednesday, September 2, 2020

Plein Air Painting Tips


"Spearfish Creek"   5" x 7" watercolor
Available for $75, matted to 8" x 10".

Lately, I've had many students asking for design help with their paintings.  Especially when I Plein Air paint, the first thing that I do is to find the lights in the scene and then find a way to connect them.  I knew in the above painting that my center of interest was the strong light hitting the lime green tree mass.  I started there with my light pathway.  Then I exaggerated the lights hitting the water, so that those lights would lead up to the trees.  The sky is the other light value. I shortened the background trees so that I could have a light sky showing.   This week, I plan to do many different versions of the below photo and see if I can make the light pathway even more interesting.  I'd love it if you would join me. Just make sure that your lights connect.  Notice the black and white that checks up on my values of my painting.  

Black and white to show my values.                                                       Original photo


Friday, August 7, 2020

Plein Air Painting Tips


"Plein Air in Excelsior"   Watercolor,   11" x 15"   $195

Since the pandemic, I have been embracing Plein Air painting (painting outdoors on location) so that I can meet artist friends at a safe social distance.  Yesterday was a perfect day, and I set up on a corner, ready to tackle perspective!  Here's my tips about Plein Air painting.  Always take a photo from your painting position right away.  That way, if the shadows change, you can refer to it.  Also, when I got home, I printed off the photo, enlarged the house to be the size of my image on the painting, and traced it.  That way, I could "check" on myself to see how well I drew the image.  I actually did pretty good, except the the width of the windows were a little too wide, which doesn't matter in the finished painting.  The angle of the windows was spot on!  Yay! I usually draw the subject with pencil, come back and add my "wire drawing" lines with a permanent marker and then figure out where my light pathway will be.  See below to check out how my lights are connected throughout the painting.  The below image is how far I got on location, and spent about 30 minutes finishing it in my studio.  

(Work in Progress)


Tuesday, August 4, 2020

Special surprise recipe! Chicken Piccata

During this pandemic, I've been cooking more than ever before, trying new recipes and actually enjoying cooking!  What???  My friends know that I've never been interested in culinary art, but now, I'm searching for things to fill my days, and since my husband and I used to love going out to eat, this is the next best thing till this pandemic is over!   We often cook together too, which I have to admit, I'm hoping Dick will love it so much that he will take over someday. (wink, wink)  I've decided that from time to time, I will be sharing some of my most favorite recipes.  And as a bonus, I am adding one of my latest paintings, just for kicks.  This painting is available for the first person to text me for only $50, half of my usual price!  This chicken dish is a combination of many different recipes that I found online, and I concocted my own version, based on our own tastes.  Hope you enjoy it! 
"Creative Energy"      7" x 11", watercolor and collage

"Chicken Piccata"


6 chicken thighs 

Flour (optional)

1/2 t. Kosher salt

1/2 t. Black pepper

3 T. Butter

1/2 c. Dry white wine

1/4 cup Capers, drained

3 or 4 t. minced or chopped garlic

1/3 t. thyme 

1 T corn starch

3/4 cup chicken broth

3 T. Fresh lemon juice and sliced lemon

3 Chopped green onions


Preheat oven to 400 degrees.  Optional:  Coat chicken with flour lightly, if preferred.  Sprinkle chicken with salt and pepper.  Heat a skillet over medium high heat.  Using 3 T butter to pan, fry chicken for 5 minutes.  Turn chicken over. Cook 2 - 3 minutes.  Remove chicken from pan and place them in a 9 x 13 pan.  Baste chicken with some of the butter that is still in the skillet.   Add corn starch, wine, capers, garlic, 2 T. lemon juice, and thyme to skillet.  Cook 2 minutes till slightly thicker.   Add sauce to 9 x 13 pan, but try not to pour over the chicken, so that the chicken will remain crispy on top. Bake for 30 - 35 minutes till internal temp of the chicken should register 190- 200 degrees. (I put loose foil on top of the pan for the first 15 minutes, then removed it for the last 15 minutes to allow the chicken to get crispy.  Sprinkle evenly with green onion, garnish with sliced lemons.  Serve over jasmine rice. 


Thursday, July 9, 2020

Follow your own heart! www.karenknutson.com

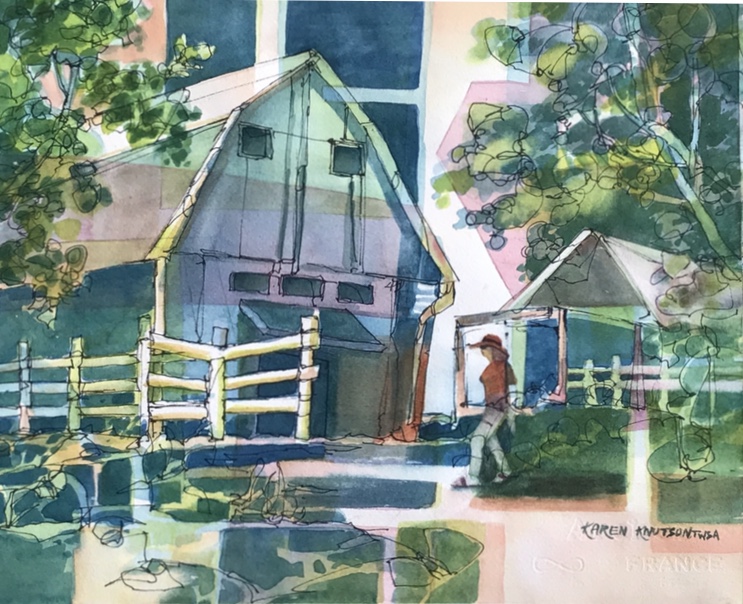
"Parley Lake Vineyards".  watercolor
11" x 14" image   $195
I started plein air painting (painting outdoors) 2 years ago, while wintering in Florida.  Last year, when I was painting with friends from Minnesota who were there vacationing, one of them said, "I can't wait to see what you do, Karen, with your abstract mind."  Till then, I had been painting traditional paintings while on location, and it really got me to thinking.  So, instinctively, I slashed a red color across the page, and then had to deal with it.  It gave me permission to be abstract!  From that day on, I've been painting like "myself" while outdoors, allowing myself to paint abstractly, and it opened up a whole new world to me.  This painting was done 2 weeks ago at a really cool vineyard in Excelsior, MN, that has countless possibilities for paintings.  My first obstacle was to try to draw the barn, using my perspective rules.  That was hard for me, but I felt like I did pretty well.  The thing about plein air paintings, is that upon viewing them, years later, you remember the sounds, who you were with, the temperature that day, everything!  You really are "in the moment".  That's one of my favorite things about plein air.  If you haven't tried it, please do consider it!  It truly will make you a better artist, and will get you out in nature too.  A tip from me:  I found out that I had to paint direct painting style.  Wetting the paper first didn't work for me.  Once I started just painting more directly  I liked the results better.  These end up being studies for larger studio paintings.  Below is the beginning stage of my painting.

Tuesday, May 19, 2020

Exciting news! Artist of the Day on Streamline Productions Facebook!

600x500_Knutson.png

On this Thursday, May 21st at 3:00 p.m. Eastern Time Zone, I am the featured Artist of the Day on Streamline Productions Facebook page.  Be sure to mark your calendar and tune in!  I will be there to answer any of your questions as the video progresses.  This video explains the charcoal pour process and then how to collage and paint a bird in watercolor.  Lots of design tips as well.  Hope you will be enticed to buy the video!
Here's the link to watch it:
https://www.facebook.com/StreamlineArtVideo/

Monday, May 4, 2020

Deep Thoughts

"Deep Thoughts"        Image:  8" x 10"
Watercolor

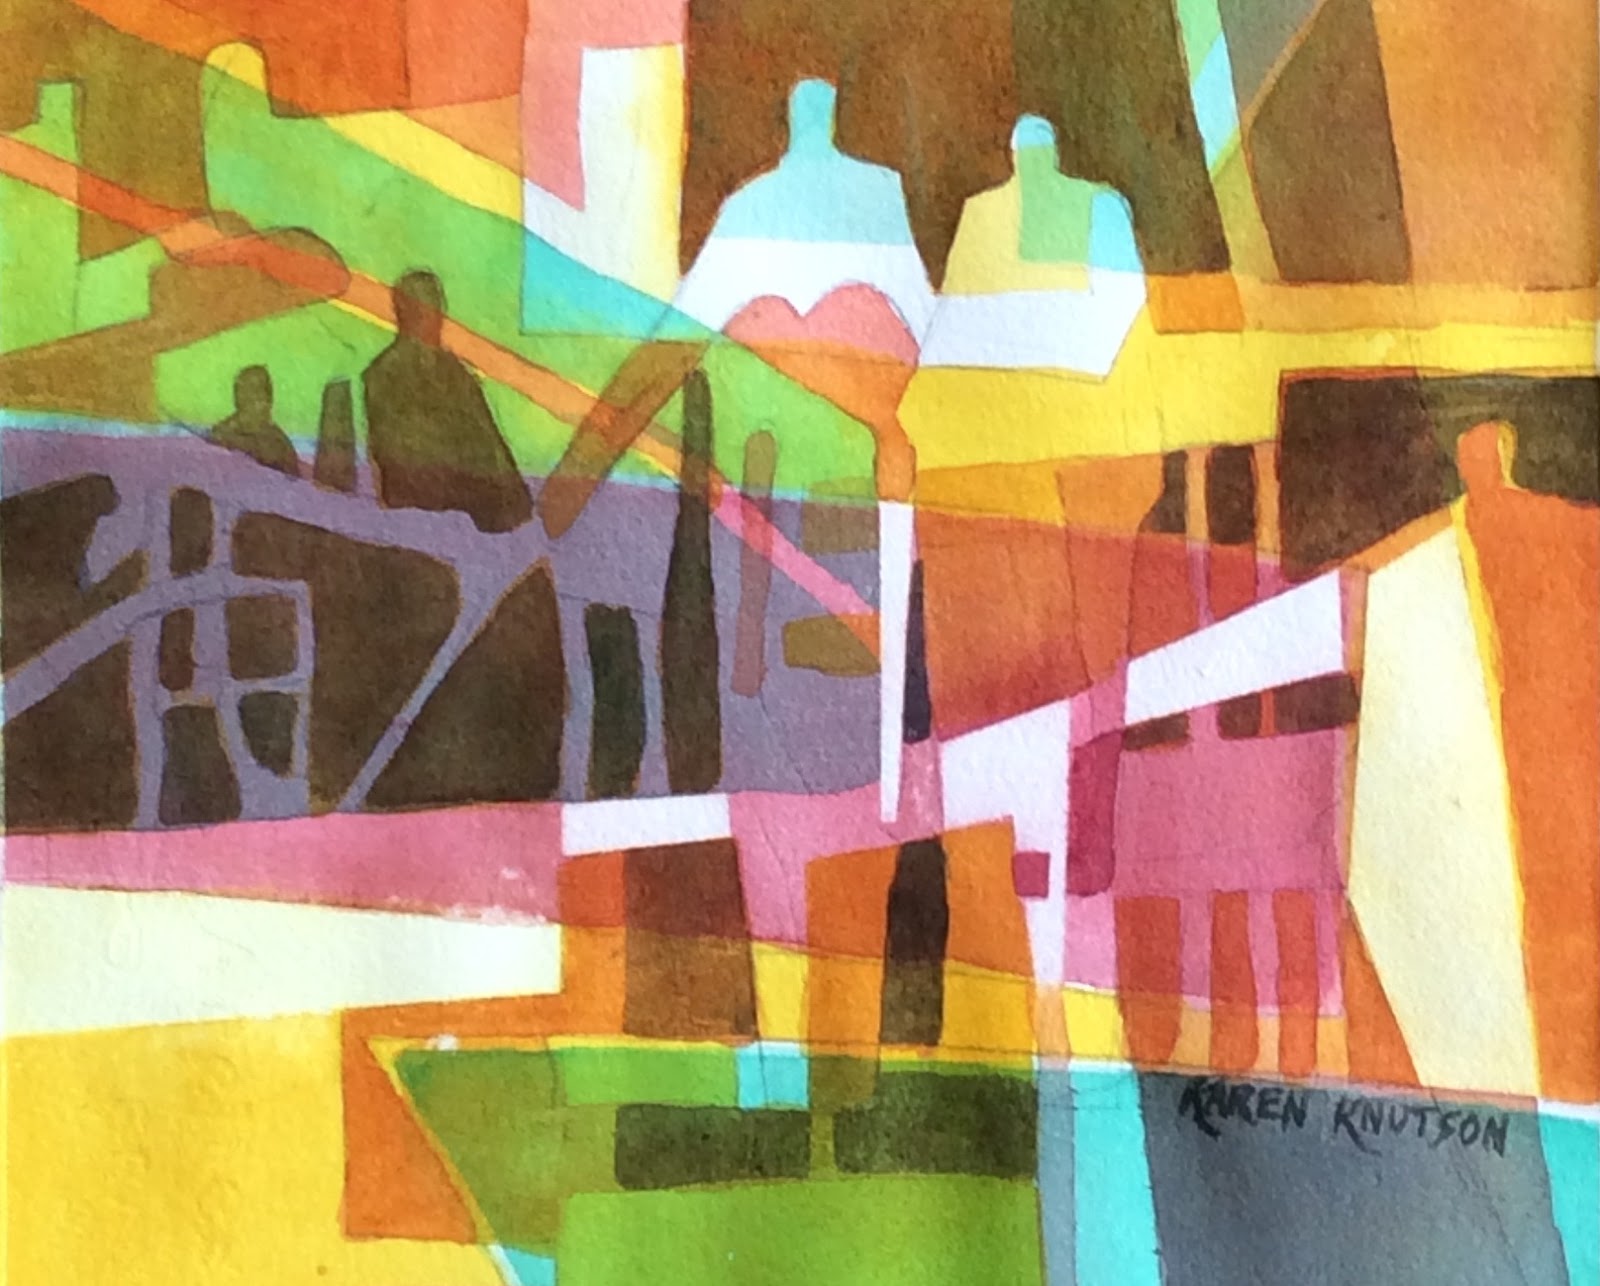
This painting is pretty deep.  The figures in the center are my husband and I, holding my broken heart.  The dark figures on the left are my mom and the other residents in the memory care unit where she is residing now, (a 10 hour drive away) with no visitors allowed.  The figure on the right depicts the Corona Virus and how it is stealing our time with our loved ones.  Much love to all of you as we all struggle with this horrible time in our lives.  I'm very thankful to have a patient husband, loving friends and family, and my artwork to help work out my frustrations. Stay safe....

So, below are the steps to this painting, that I used only 3 colors:  New Gamboge, Winsor green (blue shade), and alizarin crimson.  Very unusual colors for me.  I scrubbed out some lights at the end, using masking tape to block it off.  I also cropped so that it would be better design.

Monday, April 13, 2020

Good Days Ahead!

Our Easter Sunday was cold and snowing all day.  We ended up getting about 5 inches of snow.  But today, we woke up to sunny skies, and it honestly was a beautiful scene.  Our lake is the most beautiful shade of Antwerp blue with the sky being cerulean blue, and the shadows on the snow are so striking!   The moral of this story is-  sometimes, we have to have some gloomy days, so we will appreciate the beautiful ones!  It got me to thinking about our present situation and how dismal it seems, but we have to hold onto hope that tomorrow will be a better day!  So, here's hoping you are having a great day, and maybe I can give you some inspiration to keep painting!
Easter weather on the left.    One day later, on the right!

I thought I would take photos as I progressed through an illusionary painting.  Hope it will inspire you to give this process a try.  I only used 3 colors throughout this painting.   I used quinacridone gold (DS),  Red Rose Deep (DaVinci) and Antwerp Blue (WN).  Watch for future workshops if you want more instruction.  This process is called Illusionary Painting and it is pure watercolor.  This image is 7.5" x 7.5".

Wednesday, April 8, 2020

Using your Camera as a Tool

Bay Preserve, Osprey, FL      Plein air painting
11" x 15"  Watercolor on paper
This is a painting that I did while in Florida, plein air painting.  That means that I painted it on location.  It was a beautiful sunny day.  I have grown to LOVE plein air painting.  I remember smells, sounds, everything about that day, just by looking at the painting, after much time has passed.  At this time of the Covid 19, I'm especially thankful for those times and look forward to good times ahead when I get to be with my artist friends again.  This painting is not actually done yet.  I need to increase the values  of the mid tones and put the darkest darks where I want the viewer to look.  Do you know how I discovered that?  I use a camera app called PencilSketch, when I am 3/4 finished with my paintings.  Then I turn it to "sketch" to see if I have a connection of my values, and a clear light pathway.  Below is the picture from PencilSketch. I like the grouping of values, but there should be darker darks to really add "Wow" to your painting.  Check out this app.  I LOVE it!


Monday, March 30, 2020

New painting, "Hope"

"Hope"
10" x 10" watercolor   $125
In this time of social distancing, I think we all need hope.  I've really had to dig deep to get myself out of the blues, and I know many of you might be in the same boat.  Thankfully, I'm back to feeling good again, mentally.  If you still are struggling, my advice is to reach out to friends doing FaceTime calls or I discovered a Zoom app that is fantastic for big groups of people.  The other thing that I'm doing is taking one or 2 walks per day, trying to schedule them when the sun is the brightest. Vitamin D is so healthy for us!  But I really believe that the thing that made the difference for me, was exercising to a Facebook site, Planet Fitness, with the trainer, Erica.  I can't keep up with her at this time, but I'm hopeful that each time, I will get better and stronger.  It's free, and has a connection with TV show, The Biggest Loser.  Who knows?  Maybe I will lose a few pounds too, but the main reason I'm committing to this is that it helps my mental health.
Now, let's talk about my painting.  This is a watercolor color study , using only 3 colors: WN raw umber, Hobein Pyrole Orange, and WN Antwerp.   The process is shown if you look back at my blog on Sept. 1, 2018.  Or you can type in "color studies" in the search box at the top of my blog and that will bring you to all posts that involve color studies.  Adding words makes it really difficult and I fly by the seat of my pants for that.  Have a great week everyone, and be safe; stay home!

Tuesday, March 26, 2019

Plein Air Painting- A Challenge and a Privilege!

"Beach Fun"  Image: 11" x 15"
Watercolor  $150

I painted with the Peace River Painters yesterday.  I'm enjoying plein air painting (painting outdoors) so much!  What a glorious way to enjoy the warmth of the sunshine and remember the day.  When I look back at my plein air paintings, I always remember the day's events, the sounds around me, and the smells in the air.  Every detail of that day comes back to me!  We were at Blind Pass Beach in Englewood, FL. When I arrived at 9:00 a.m., there were only a few beach people,  but it didn't take long for the beach to become packed!  Quite a change from the time I started to sketch.  One thing that I learned long ago, is to take a photo from my painting view point right away, because things will change.  It's a little like watching an ant farm when I sat there, painting the people at the beach.  Constant movement.  What I'm most excited about, is that my own style is coming out when I paint outdoors.  I used to paint traditionally, but now I start with a paper with an abstract design on it and work the scene into that!  

Tuesday, December 18, 2018

5 Minute Landscapes

"Golden Sunset"   5" x 7" image.
Matted:  8" x 10"   $45
Every now and then, it's just fun to do really quick paintings.  These little gems will test your skills at timing in watercolor.  I start with a 5" x 7" watercolor paper.  Then I wet both sides of the paper several times, so it is very wet.  Then lightly sponge off the right side and begin.   Using a bright color (red/orange), I paint the sky and the water, leaving a big white shape.  Then I pick it's complementary color and smear that into the first color to create a grey color and then have the complementary color (green) on the upper left and lower left corners.  Switching to a 1/2 " flat brush, I double load the two complementary colors in a dry brush mixture to make the tree masses.  I do NOT mix the color on the palette or it would be too wet.  Pull down the colors to create the reflections.  Use a thirsty brush to wipe out the water line.  Then wipe out a ripple in the water.  You can put more detail on the trees, using a small round brush that is double loaded with the 2 colors.  That's how I was able to get the points on the top of the trees.  You do all this is only 5 minutes!  It's fun to do color studies using this process.  Odd colors are usually my favorites.

Monday, February 26, 2018

Day 26 of 30 Paintings in 30 Days!

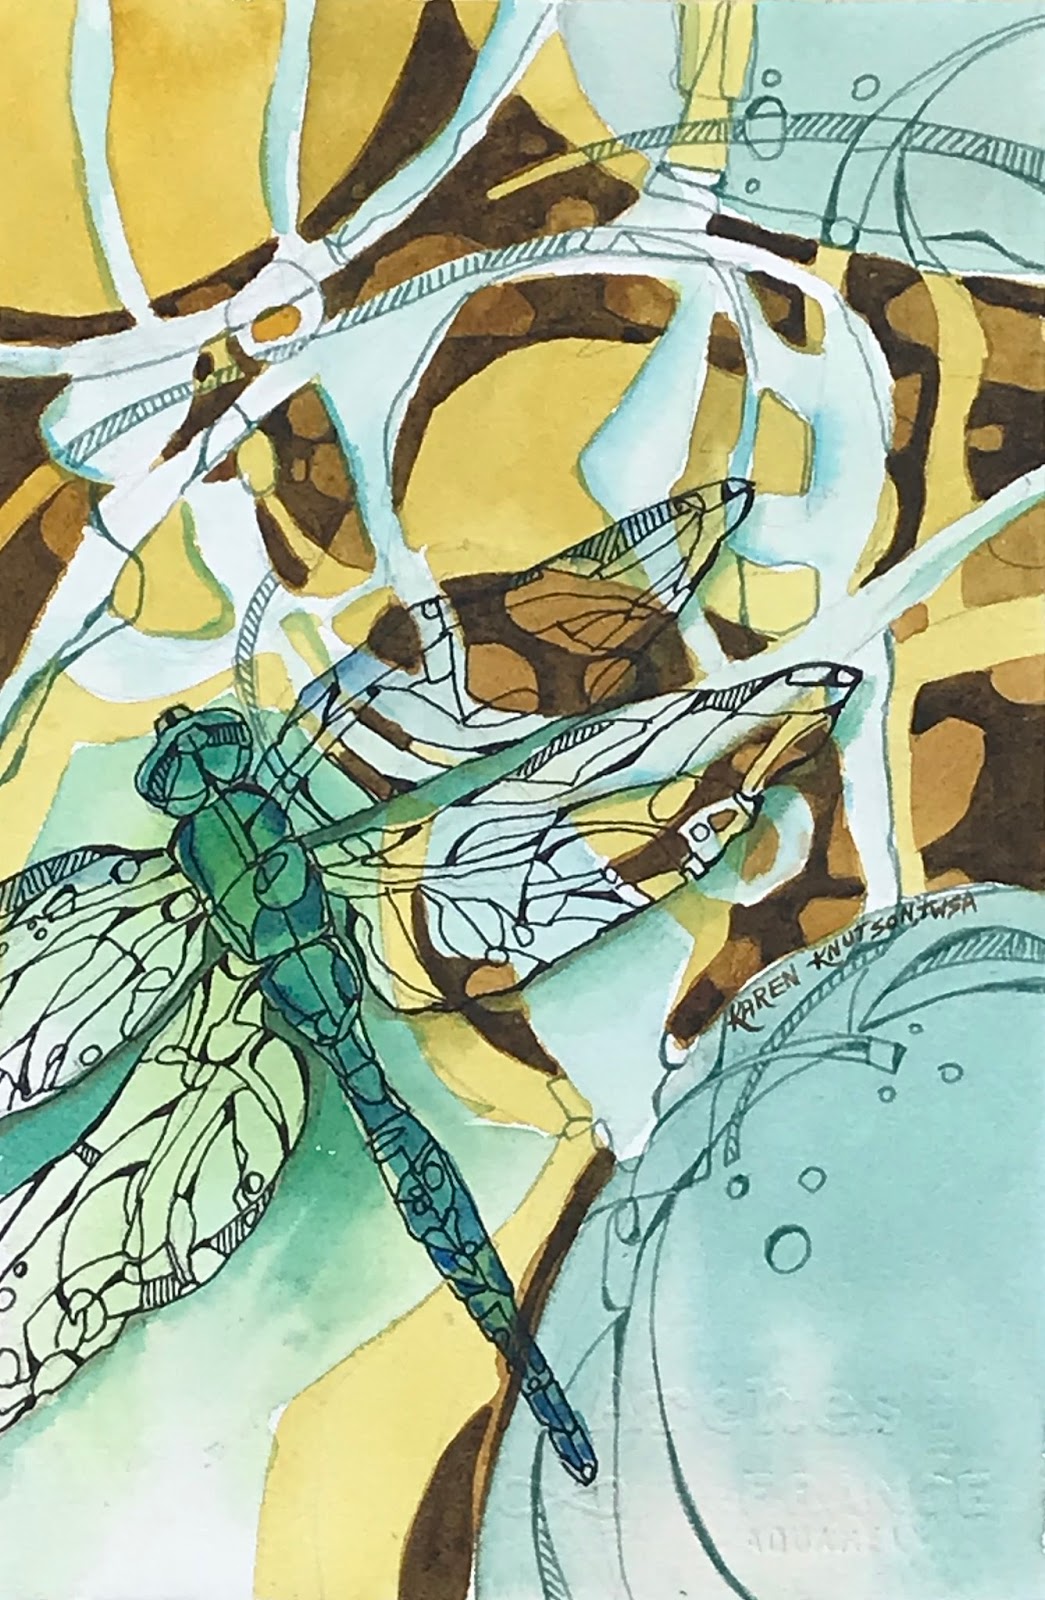
"Overhead View"      $75
Watercolor and permanent marker         7" x 10"
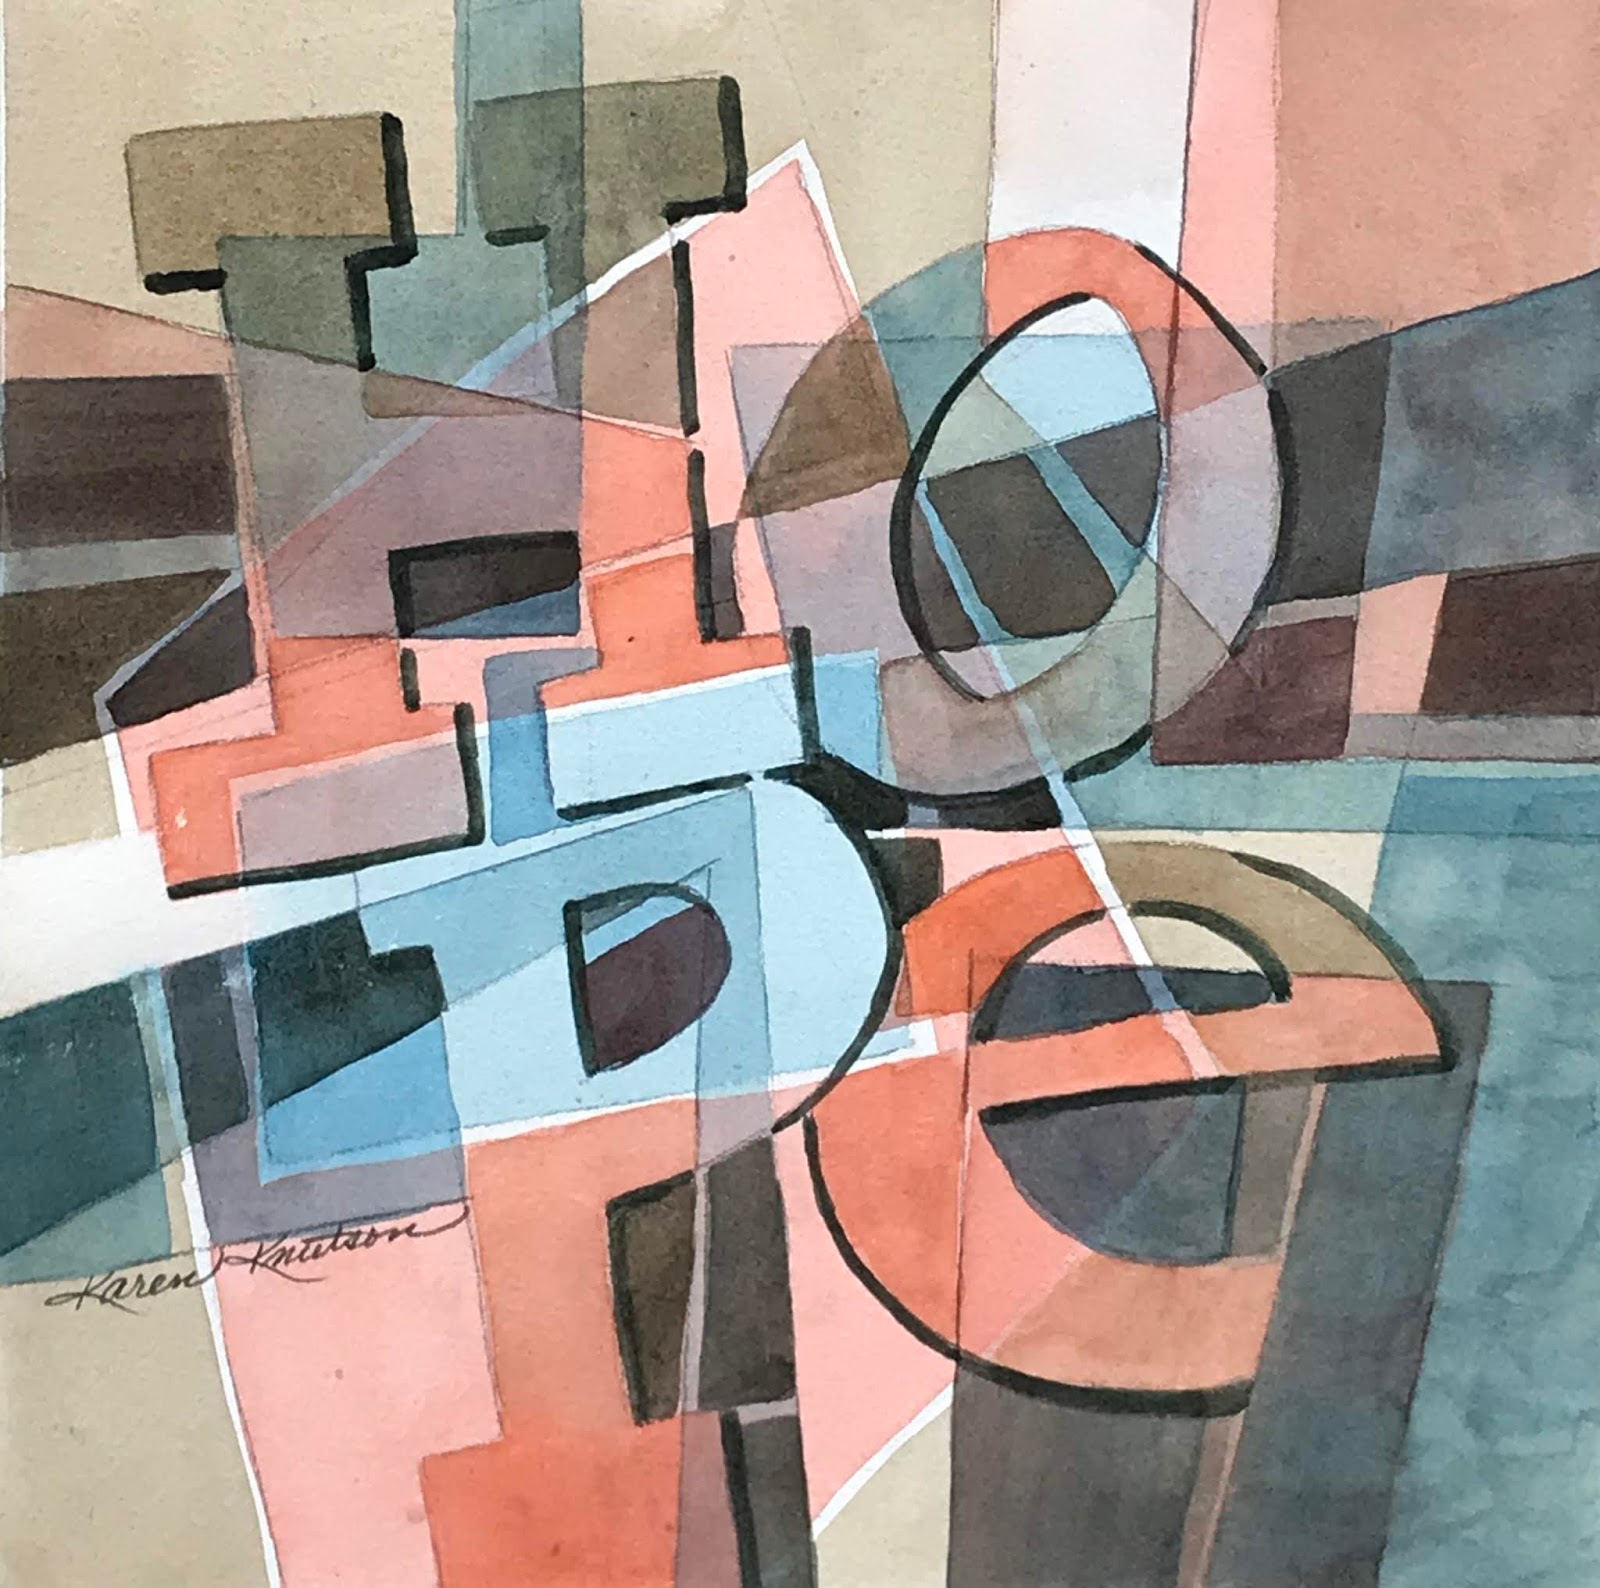
I began this painting thinking it was going to be an abstract.  Then as it developed, I knew that it needed something recognizable in it, so I added the dragonfly.  I used a design study for the initial abstract design. (see below) It was a square format, so I stretched it lengthwise to fit my 7" x 10" size.  I'm so excited to be going to Karlyn Holman's Paint-in tomorrow, so I'm going to keep this short today.  This is an example of part of my workshop for Dillman's Resort.  Use this link to find out more!  http://www.dillmans.com/dcaf/2018/karen-knutson.html
Design study for "Overhead View"

Sunday, February 25, 2018

Day 25 of 30 Paintings in 30 Days!

"Clara, the Chicken"    $75
Watercolor and permanent marker        7"x 10"
I have been drawing chickens for the past year.  The wire drawing technique works so well for this subject.  Every time I teach this workshop, the students are amazed how much fun it is, AND how it leads to them to develop better drawing skills.  I'm teaching Wire Drawing at 2 future workshops.  The first one is in Bradenton, FL on April 10th.  It is a one day workshop.  Click on this link to sign up. http://keetonsonline.com/theartistscorner.html  I'm also teaching this process at Dillman's Resort in northern WI, at a beautiful location, nestled in the pine trees and a gorgeous view of a lake.  This workshop starts with the process of the wire drawing and then each day, teaches the students how to develop their own designs into an abstract painting by the end of the 4 days!
Click on this link:  http://www.dillmans.com/dcaf/2018/karen-knutson.html
Students can choose to use mixed media or stick with watercolor or acrylic.  It's a great workshop that I'm really proud of!

Saturday, February 24, 2018

Day 24 of 30 Paintings in 30 Days!

"Roots of Love"       $75
Watercolor and Acrylic        7" x 10"
Trying new colors today.  This painting started with  my new technique of the toilet paper roll, (See blog from February 14th, 2018)  and then I added a "dry brush drag" as I call it.  Analogous colors with a tiny bit of an opposite color. 
Steps one and 2
I then drew in the figures and worked from a previous value study weaving the colors in and out of the colors and lines from the under-painting.  As the painting developed, I saw lots of root shapes, so that brought me to the title, "Roots of Love".  I struggled with my old nemesis, tiny busy shapes, and I actually wonder if the painting is better as a cropped version.  But then, I would lose the meaning of the painting.  These are questions that an artist faces as they are 3/4 of the way through a painting. You decide.  I'd love to hear your comments.  Below is the cropped version.

Friday, February 23, 2018

Day 23 of 30 Paintings in 30 Days!

"Florida Palms"     $75
Transparent Watercolor        7" x 10"

Today, I went to another plein air event held by the Plein Air Posse group on Manisota Beach.  It was a really great location, and I quickly found a picnic table in the shade where I had a view of the beach and several palms that intersected the gulf view beautifully.  My new friend, Linda Banas, and I painted side by side and several people stopped to admire our work. :)  I am truly LOVING painting outside and have met so many really nice artists during the process.  I came prepared today with an under-painting done.  (I forgot to take a photo of it before I added the first layer of the palm drawn in.)  The cruciform shape was there, when I arrived at the outdoor site and then my first step was to draw the palm and negative paint around it.  This painting is an illusionary painting, where it's a little ghostly.  I used to teach this process but it was a hard workshop, and so I've taken it off my workshop list.  The one thing that I can say about plein air painting.  You remember sounds, smells, and even conversations so much when you paint on location.  I'm still struggling with the outcome, but I'm loving the process.  Yes!  I found out that if I work on 2 paintings, I can keep switching when the one needs to dry. 
Step one and 2

Thursday, February 22, 2018

Day 22 of 30 Paintings in 30 Days!

"Summer Day"      $75
Waterccolor        7" x 10"
I'm really enjoying painting sunflowers.  This one makes me think that there is a gentle breeze on a summer day.  I can almost feel the wind blowing by the flowers.  The process of this painting is to wet the entire sheet of paper, then work as fast as you can to paint the petals, leaving a little bit at the tip in white.  Remember, you are working on a WET sheet of paper, so the color "Spreads" really fast.  Then, I negative paint, using a dark thicker mixture of paint.  to carve out the edge of the flowers.  This usually takes at least 3 coats to get dark enough, with rewetting, etc.  I enjoyed the looseness of these sunflowers.  Fun to paint, but the timing had to be perfect. 

Wednesday, February 21, 2018

Day 21 of 30 Paintings in 30 Days!

"Imagine Butterflies"      $75
Watercolor and Collage      7" x 10"
I started this painting several days ago, and then didn't quite know what to do with it.  Sometimes, paintings need to brew awhile to tell you what they will become.  I had tried a new technique when I started, and it really had me scratching my head on where to go.  I had collaged 1/2 of a butterfly, and decided to wire draw some more butterflies to accompany the first one.  Whenever I teach, I tell the students not to use the whole image that is on napkins.  Only use a part of the napkin image and then add your own touch to it.  Make it your own.   Once I added the red unifying color to weave around the butterflies, it all came together.  Just goes to show that if you try new things once in awhile, you might make a breakthrough.  Below is my beginning. 
Step One

Tuesday, February 20, 2018

#20 of 30 Paintings in 30 Days!

"Sunny Side Up"      $75
Watercolor      7" x 10"
These wet into wet watercolors are much faster to do than the watercolor collages and figurative paintings, so you might be seeing a few more of these, cuz I'm running out of steam for this challenge.  This painting started like the other ones, using a toilet paper roll for the underpainting.  I love the random line work in the finished piece. I forgot to take a picture of that beginning, but if you go back to my blog from February 14th , you will see how this discovery was made!  The main thing I have to remember as I'm doing this painting is to keep layering with the darks.  Look at the photo below when the painting was in the middle stage.  Quite a difference when the dark values are painted and then the sunflowers start to pop!

Monday, February 19, 2018

Day 19 of 30 Paintings in 30 Days!

"Meant to Fly"     $75
Original Watercolor and permanent marker      7" x 10"
This started as a wire drawing, and then I decided to add color.  Because I'm surrounded by lots of lime green here in Florida, I decided to start with lime green.  I mixed aureolin yellow and antwerp blue to get a really bright lime color. Below is the first step.  After that first layer, in order to make the wings look a little more transparent, I negative painted leaves, going right through the wings.  I will be teaching "wire drawing" in Bradenton, FL on April 10th and will feature "wire drawing" every day of my Dillman's Resort 4 Day workshop in Lac Du Flambeau, WI in mid June.  For me, Wire Drawing has been life changing!
Step One

Sunday, February 18, 2018

Day 18 of 30 Paintings in 30 Days!

I
"Walking Through Time"       $75
Watercolor         10" x 7"
I decided to do a pure watercolor today.  I started this using the dry-brush technique that I've used on 75% of my paintings during his challenge. The first step is shown below.  I again tried my hand at plein aire painting today.  We met at the Farmer's  Market  in downtown Venice  I was concerned that it might be too public for me to feel comfortable, but it turned out to be great since I just sketched and took LOTS of people photos for possible painting in the the future.  I guess that's why when I got home that I wanted to paint people.  I again met many new artist friends and reconfirmed that this area is definitely a great place for us to spend our winter months!  Very grateful!
Step One:  Dry Brush 

LinkWithin

Related Posts Plugin for WordPress, Blogger...